# Image galleries
# How it works
AnyMod lets you easily add image galleries to any page.
Images can be replaced and rearranged by anyone on your team, with no coding knowledge needed.
When you add a gallery mod to your page, it will look normal to visitors. For users on your team however, a pencil icon will appear on the right side of the page:
Clicking this pencil icon allows you or your team to select the gallery to edit:
Clicking the gallery opens the content editor, which can be used to make live, realtime edits to the gallery:
TIP
The three images above are actually mods: click the pencil edit on the right, then click an image to edit it.
# Ready-to-use galleries
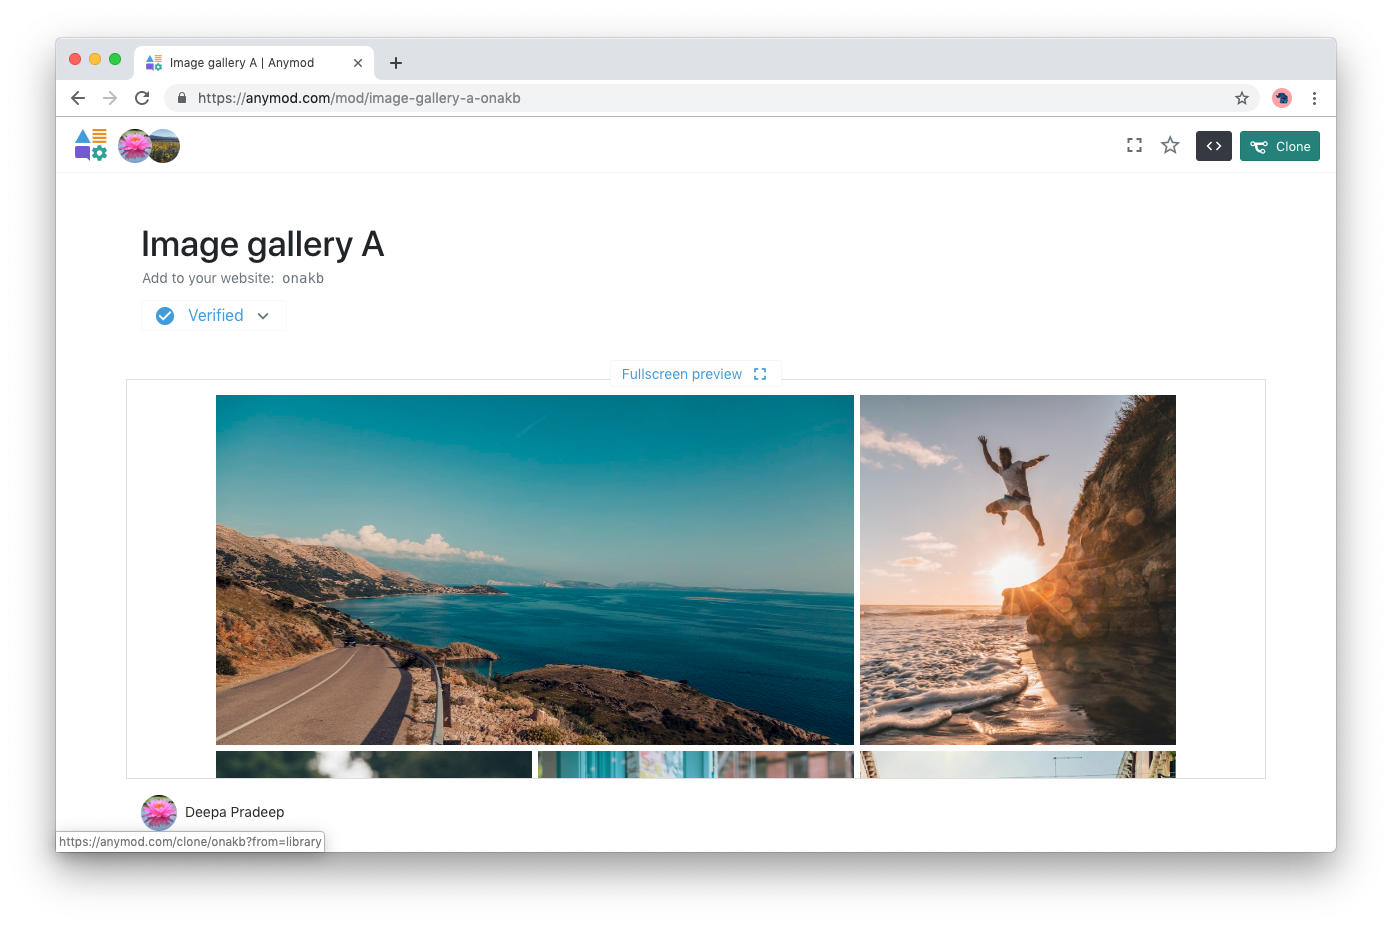
AnyMod has dozens of galleries to choose from (see galleries (opens new window)).
To add a gallery, click the "Clone" button in the top corner:

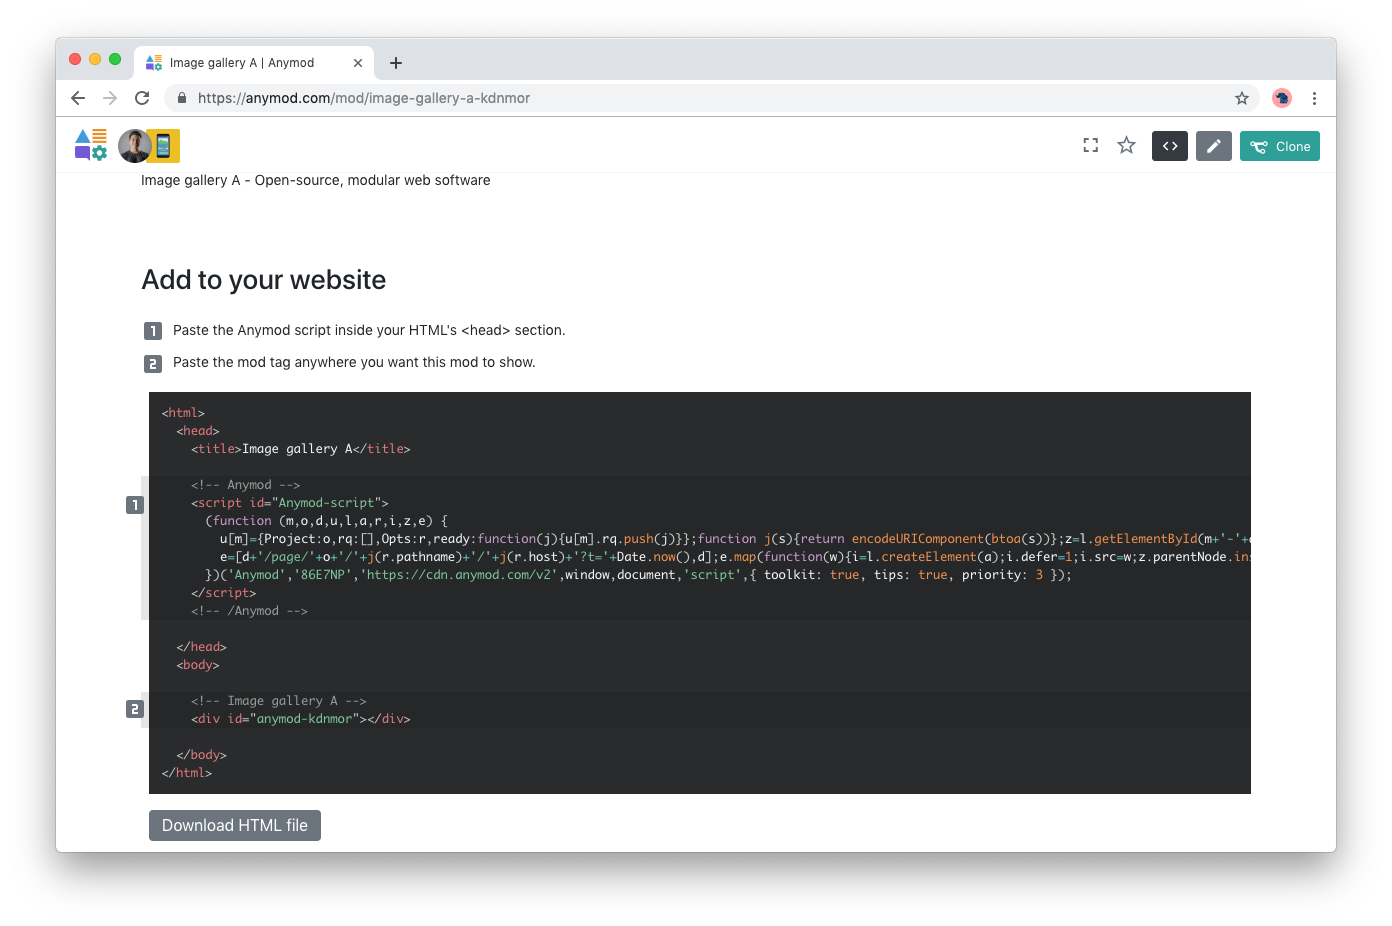
Next follow the instructions on the bottom of the page:

Adding the AnyMod script and the mod tag to your page will cause the gallery to appear:
<!-- Image gallery -->
<div id="anymod-onakb"></div>
TIP
Click the pencil edit on the right, then click the gallery mod above to make edits.
# Customizing a gallery
In addition to editing a gallery's content, you can also optionally edit its code. This gives you full flexibility to extend mods to fit your exact needs.
For example, we can modify the above gallery to add some CSS rules:
max-width: 600px;
margin: 0 auto;
.box {
  max-width: 200px;
  max-height: 200px;
  margin: 0;
  padding: 0;
  img {
    padding: 10px;
  }
}
And we get the same gallery feature with a different look:
In this way, you can choose a gallery that fits your needs or comes close, then make any edits you need to the content or styling to get exactly what you want.
TIP
See the gallery before (opens new window) and after (opens new window) the edits, or read more about customizing mods.
← Forms Navigation →