In this example, we'll build a simple mod with React.
TIP
There is a React mod (opens new window) that you can clone to start quickly. This example shows how to build up this React mod from scratch.
# 1. Start with a blank mod
Create or clone a blank mod (opens new window) to get started.
# 2. Set the mod's JavaScript to React JSX
Click the code icon (< >) to edit the mod's code, then JS Assets. In the dropdown select React JSX
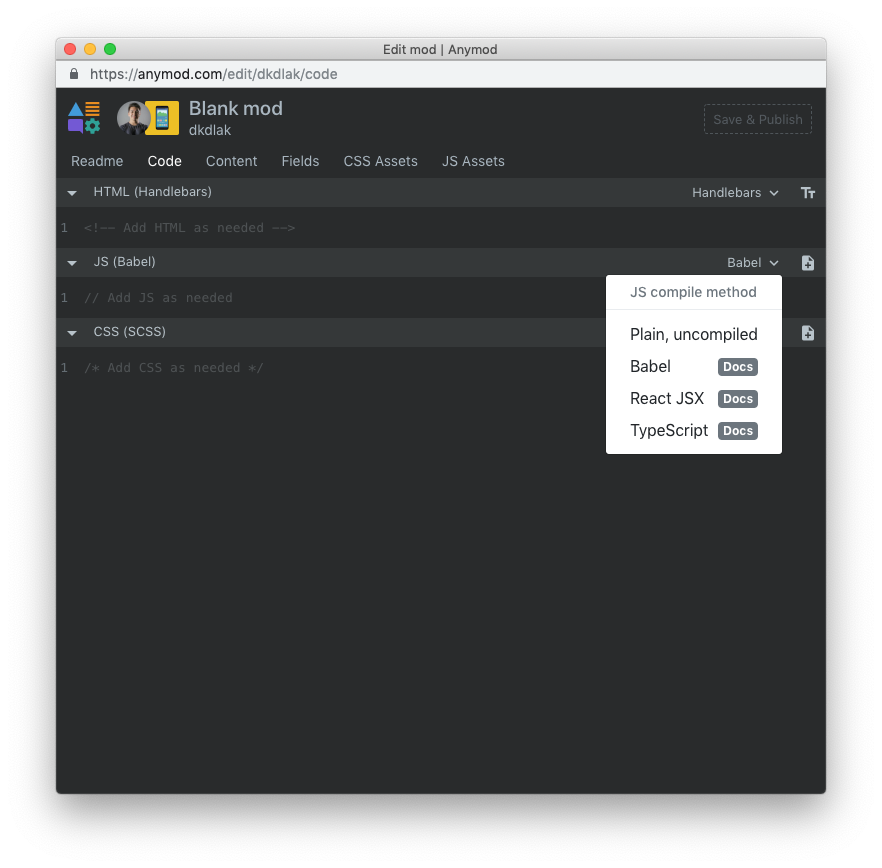
TIP
It's a good idea to also set the HTML panel to Plain instead of Handlebars whenever using JSX or HTML that has curly braces ({}).
# 3. Add React and ReactDOM scripts
Click JS Assets. From the dropdown menu, click React to add it first, followed by React DOM second.
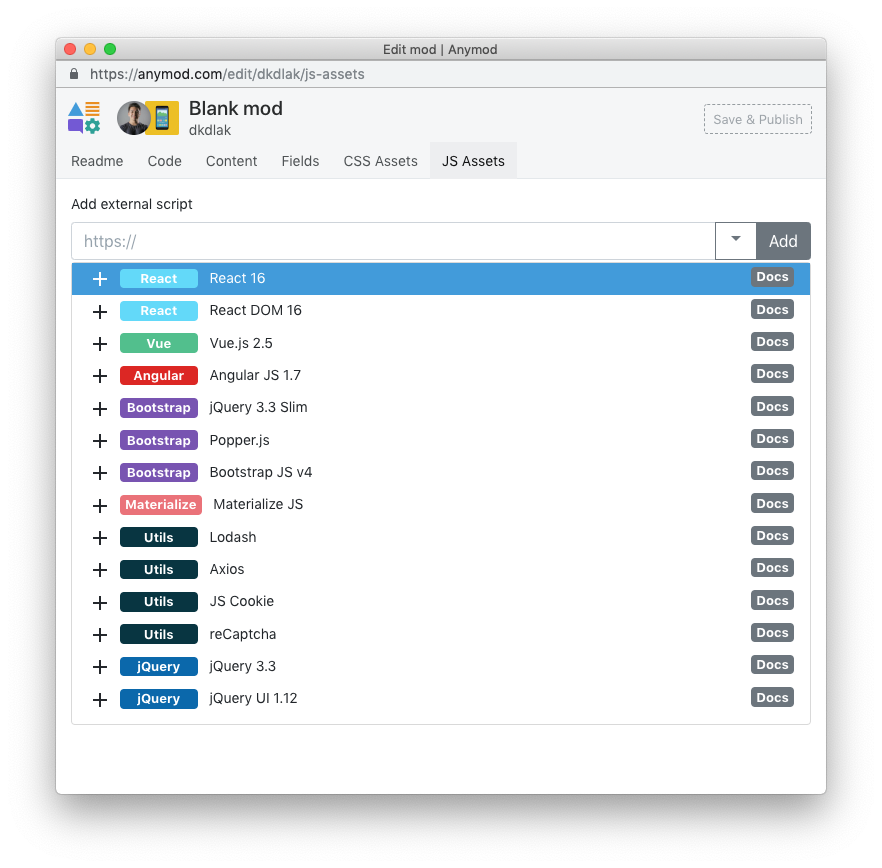
TIP
If you're using a bundle build of React, you can add the URL to your bundle instead of the React & ReactDOM scripts used here.
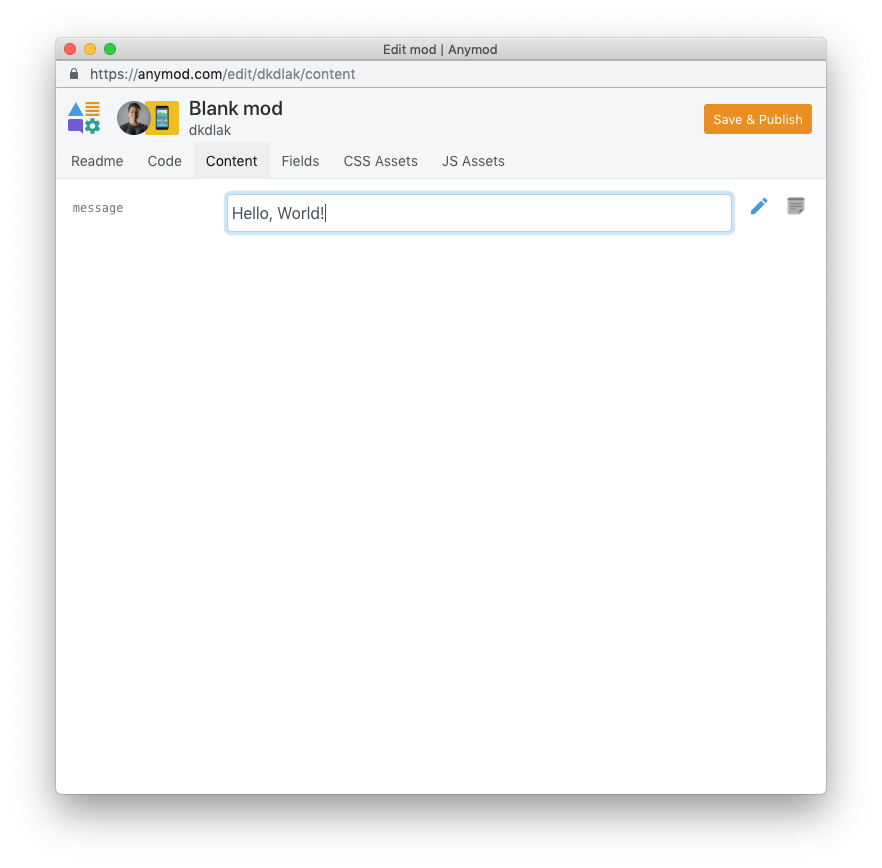
# 4. Add a field called message
Click the Fields tab and add a field called message with type set to Simple text
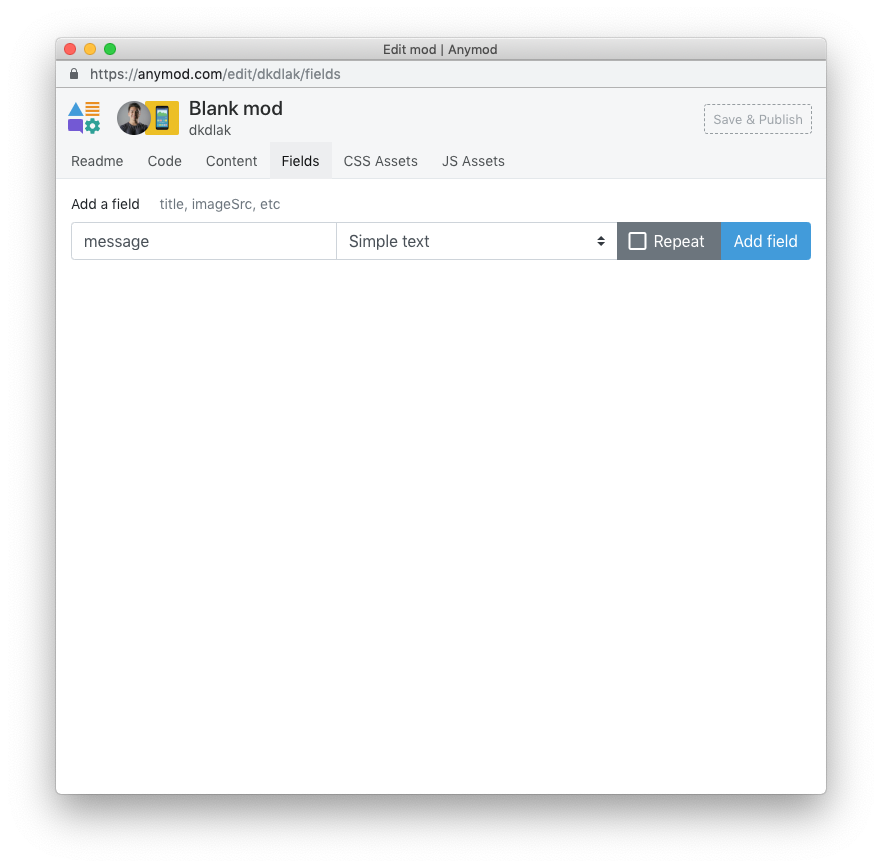
Click Add field and then click on the link for the message field. Add some text and click Save & Publish.
# 5. Write your React mod with JSX
Now you're ready to build with JSX. Add the following code to the mod's JSX panel:
const element = (
  <div>
    <h1>{mod.data.message}</h1>
    <h2>It is {new Date().toLocaleTimeString()}.</h2>
  </div>
)

ReactDOM.render(element, mod.el)
TIP
Our message field is available in the JSX panel as mod.data.message (line 3).
The mod's DOM element itself is available as mod.el (line 8). In this example, we are rendering our custom element in place of the mod's HTML.
# 6. Style your mod
You can still style your mod as usual. Add the following to the CSS panel:
h1 {
  color: blue;
}
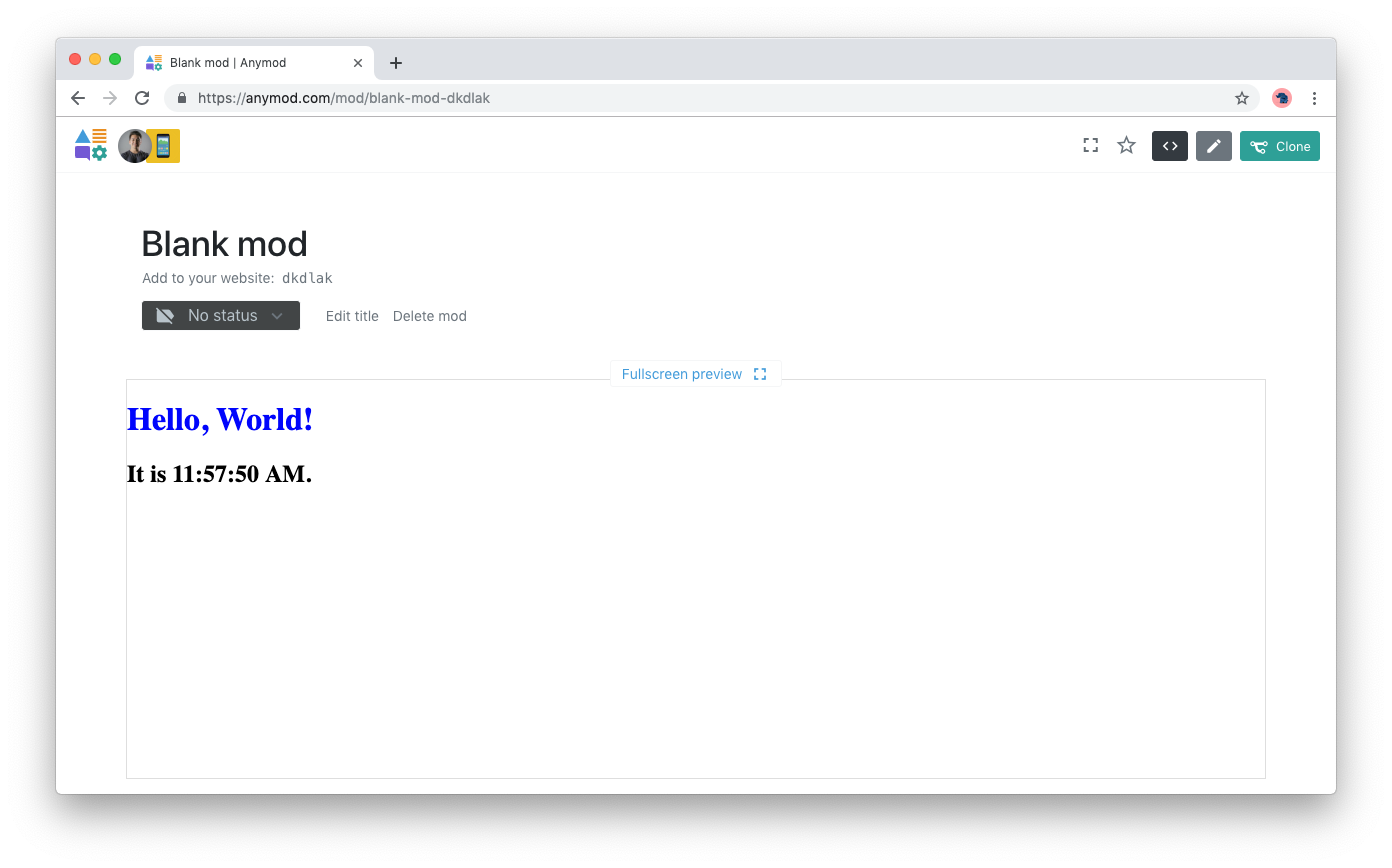
# 7. Save your mod
When you click Save & Publish, your mod is automatically pre-compiled and displayed. It should look like the example below:
Now you're ready to build any kind of mod you want using React.