In this example, we'll use Handlebars (opens new window) to pre-compile a mod's HTML.
# 1. Set your mod to Handlebars mode
Select Handlebars from the HTML compile method dropdown:

# 2. Add some custom fields
Click the code icon (< >) to edit the mod's code, then visit the Fields tab.
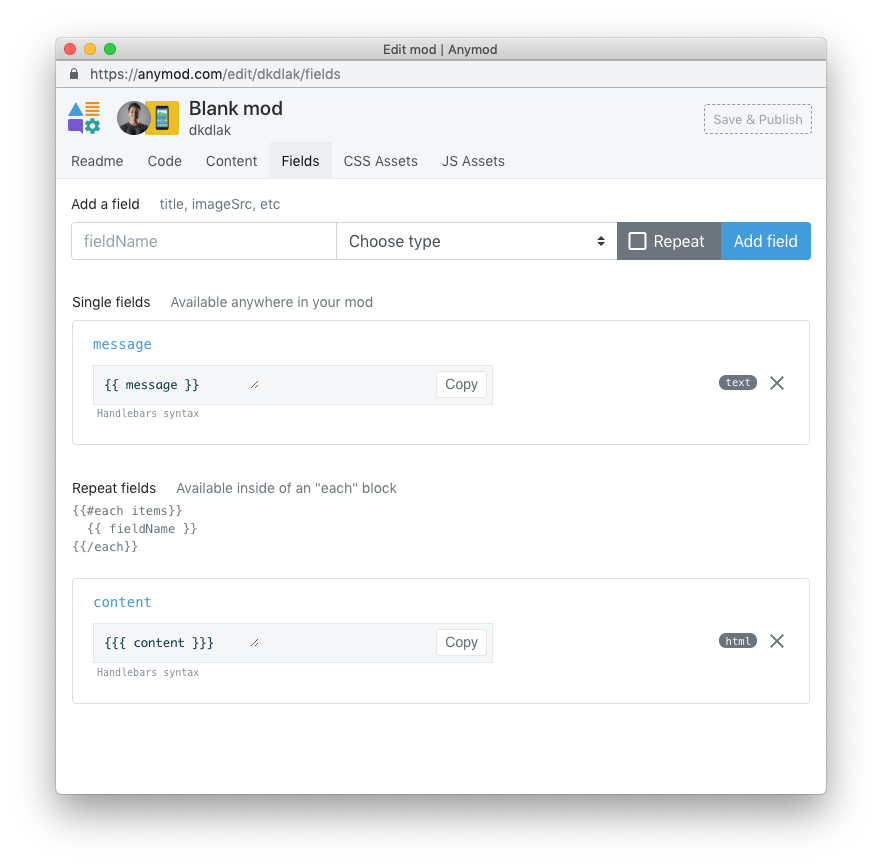
Add 2 fields to your mod:
message: Simple textcontent: Rich text (HTML) with Repeat
Your mod fields should look like this:
Your mod's HTML panel should now read
{{ message }}

{{#each items}}
  {{{ content }}}
{{/each}}
TIP
Notice that we've used two curly braces to insert simple text ({{ }}), while we've used three curly braces ({{{ }}}) for HTML.
# 3. Add content to your fields
Click the pencil icon and go to the Content tab, then add some content for your message field. Also add some repeat items with the content field set:
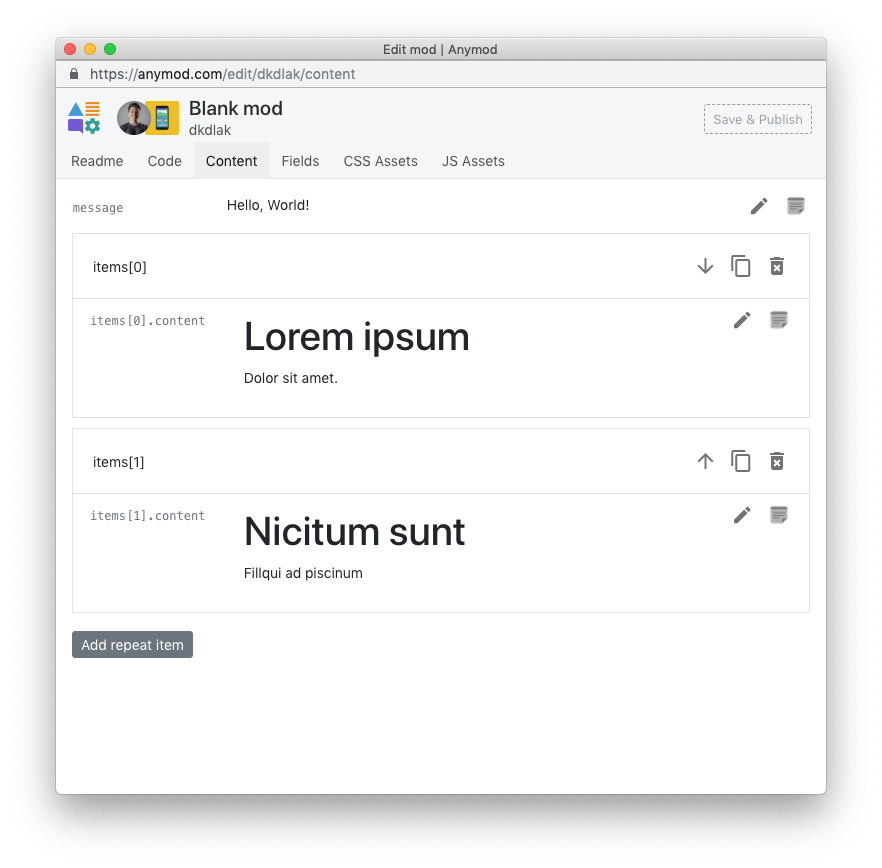
Click Save & Publish to save your content, then view your mod:
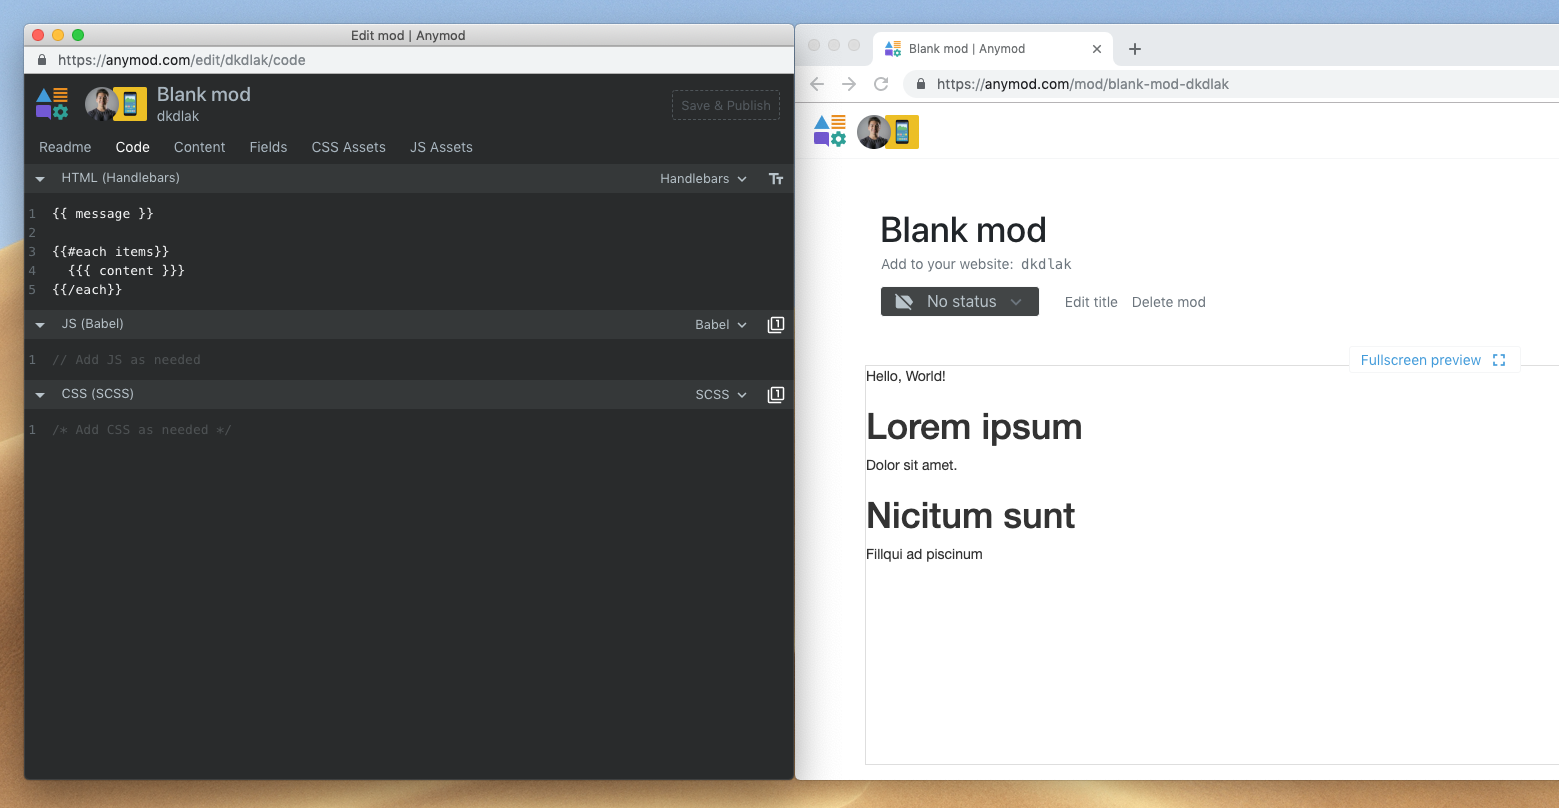
The mod's fields are being filled in with Handlebars.
# 4. Customize your HTML
You can insert text anywhere in your HTML using Handlebars. Try updating your HTML to the following:
<div style="background: {{ message }}">
  {{ message }}
</div>

{{#each items}}
  <div style="border: 1px solid blue;">
    {{{ content }}}
  </div>
{{/each}}
Now change the value of message from "Hello, World!" to "green". As written, this will be inserted into the style attribute of the div on line 1 as well as inside the div itself (line 2). The result will be:
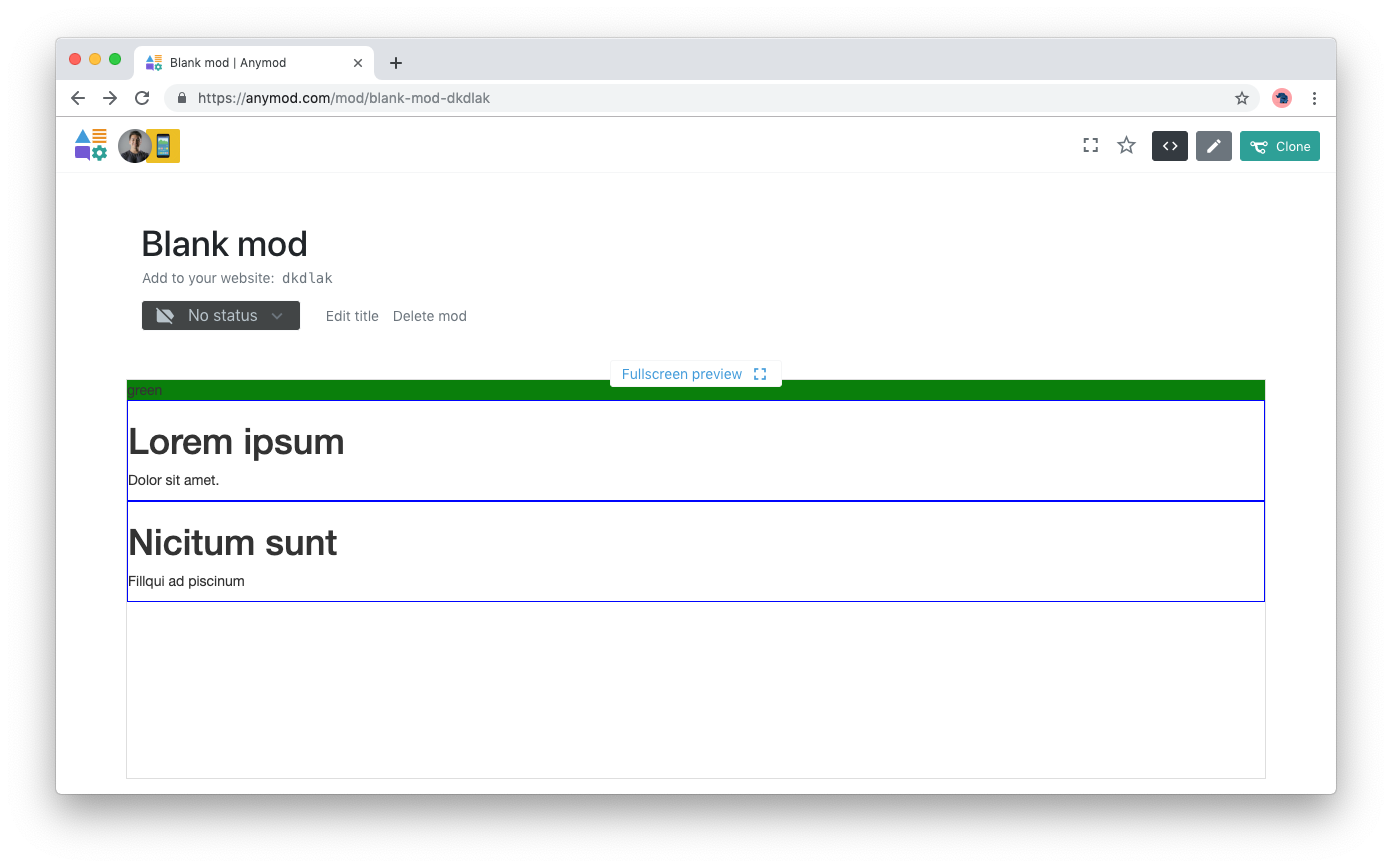
Using this approach, you can add content, styles, and more to your mod's HTML using Handlebars.
TIP
For more Handlebars syntax, see the official docs (opens new window)